Lines In the Sand
Posted by The Team at 2Sand on 07 07 2021
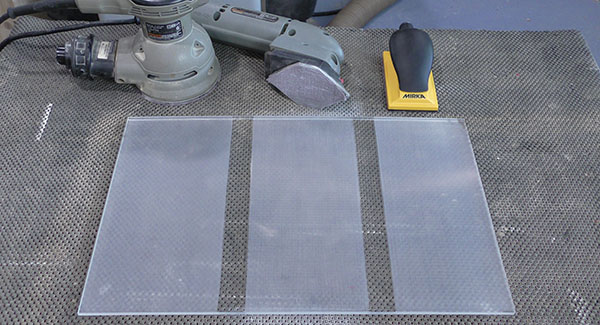
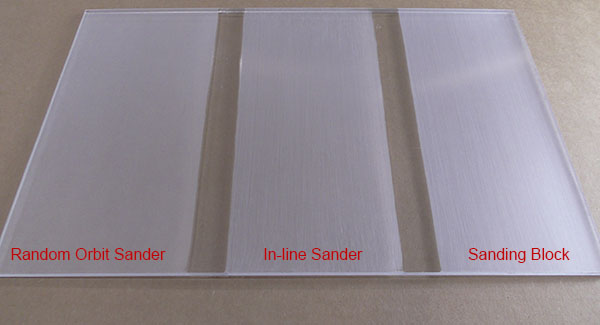
We have written about how different abrasive minerals create specific types of reflections or sheen. How you sand is just as important to the finished appearance. Using acrylic as a base, we did some testing to compare the scratch patterns of various sanders side by side. We set up the same 320 grit Abranet in an electric random orbit sander, an electric in-line sander and a hand sander, worked a section of acrylic sheet with each, and wiped them clean to see the results. All three were connected to dust collection to get the best possible results.
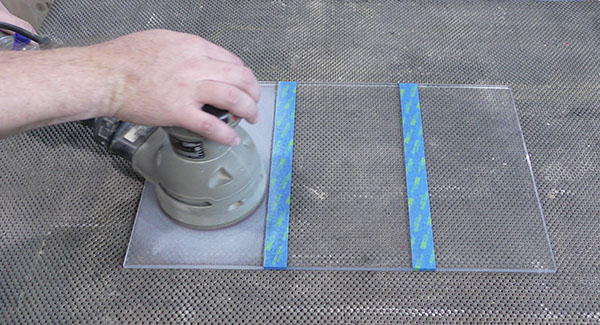
The random orbit sander left a smooth, even surface finish. The scratch pattern is made up of tiny circles creating the same reflective quality from all angles. This was no surprise; this is exactly what this type of sander is designed to do. The final appearance is determined by the qualities of the stain, paint or other finish added after sanding.
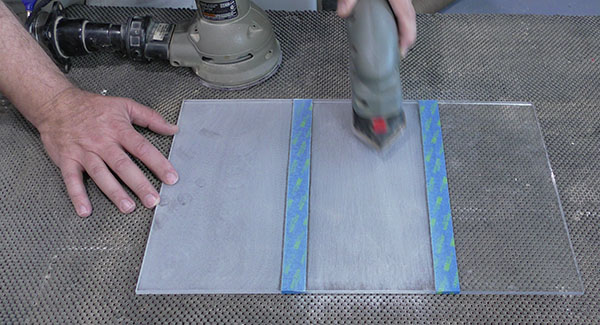
The electric in-line sander is non-orbital oscillating back and forth in a short but straight line. It was carefully worked to keep the lines oriented and avoid angles in the sanding pattern. This can be a very effective technique for finishing bare metals and, in this case, frosting plastic. The surface, when viewed perpendicular to the pattern, is quite different than when aligned with the sanding pattern. The short stroke of the sanding pad minimizes visible lines, but the refraction is noticeably oriented which can be a cool effect. In-line sanders can be difficult to find sandpaper for, but 2Sand.com can make custom sanding supplies to suit your needs – and your tools.
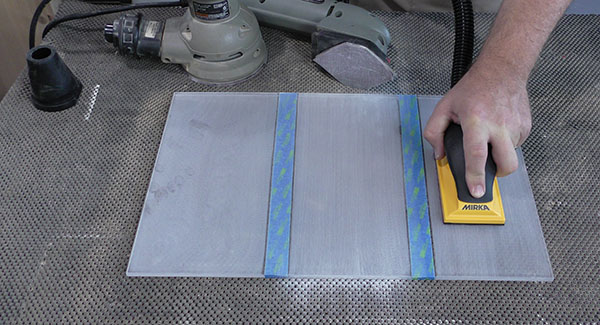
The hand sander was also held to a single direction, but the strokes were much longer. The surface appearance was considerably easier to control by hand and, surprisingly, it did not take significantly longer to sand the same acrylic surface area. The lines left behind by the sanding block are more noticeable than from the electric in-line sander, most likely because they are actually longer. We’ve shown you this particular sander before. It uses Abranet and dust collection to create a surface finish like no other sanding block.
Usually, the goal of sanding is uniformity above all. But there are times when something more is needed. This technique of creating linear sanding patterns allows some interesting options for light effects by controlling the scratch angle relative to the main light source. Crossing the main axis of a part at a specific angle, and even combining sanding lines in two or three primary directions, allow for prismatic effects not available in the smooth, even pattern left by a random orbit sander.
This was something of an experiment and turned up some unexpected results. It is not how most things should be done, but nice to keep in mind just in case. Let us know what unusual techniques you have experimented with that provided good results.