Refinishing in Place - Part Two of a Countertop Sanding Project
Posted by The Team at 2Sand on 08 27 2023
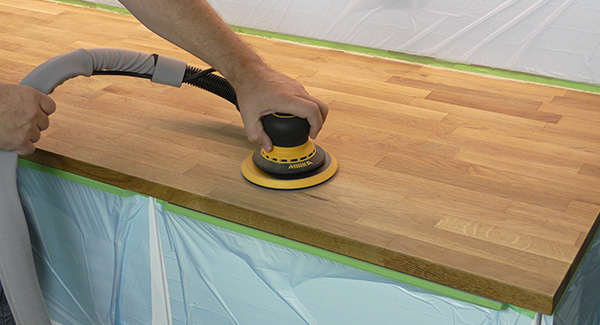
In the first part of this blog, we prepared a countertop for refinishing. The trim was removed, the walls and cabinets were masked off, and knots and voids in the countertop were filled with resin and sanded smooth. With all that completed, the countertop can now be sanded and refinished.
The original finish on the countertop was an oil finish. While sanding, the oil blended with the sanding dust and coated the sanding discs quickly, even with full dust extraction. Fortunately, the open mesh of the 6” Abranet Discs resisted clogging. Pausing regularly and using a dust extraction hose to clean off the discs before continuing was the key here, as regular paper-backed discs may not have lasted long.
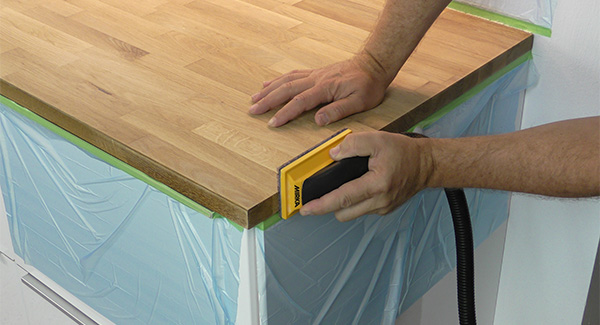
Next, we hand sanded the edges and ends of the counter using Abranet and dust extraction. The same build up occurred on the sanding sheet even with the hand sanding block, but the vacuum kept it clear, resulting in a good surface for refinishing.
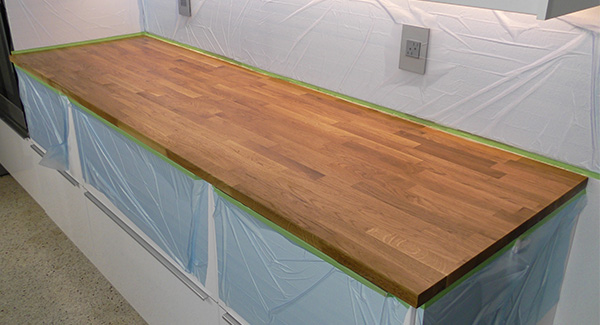
To protect the walls and cabinets, we left the Indasa Masking Tape in place while applying several coats of mineral oil to the countertop. While the oil was allowed to soak in for two days, new trim molding was prepared.
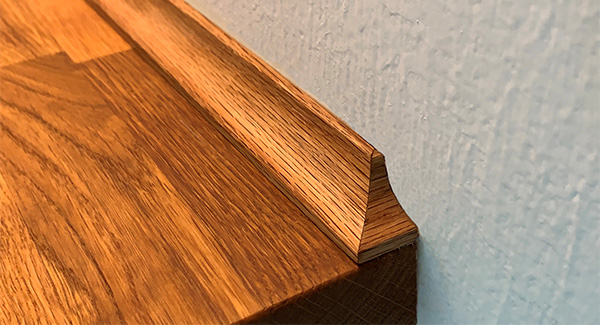
We returned a store-bought oak molding at one end to make it look nice, then sanded it smooth along its length using our shop-made sanding mop we detailed in the May 2023 edition of the 2Sand Blog. This gave a smooth surface to apply a couple coats of mineral oil to finish the trim. Now that the trim is nailed in place, the counter is ready for another decade or more of service.
