Downdraft Sanding Table - Part 2
Posted by The Team at 2Sand on 01 14 2020

In
the previous 2Sand Blog post, we
discussed making a modified torsion box that functions as
an effective downdraft sanding table. Originally, the downdraft top was an add-on to a
rolling sanding supplies cabinet, but in one of life’s funny reversals, the
process is being reversed, and we are discussing what sort of stand to put the
downdraft table top onto.
In a larger shop with a dedicated sanding space, the stand can be made easily and inexpensively as a simple set of open legs much like a work bench. This can have a shelf or shelves as needed. But in shops with less dedicated space, a storage cabinet is the right option.
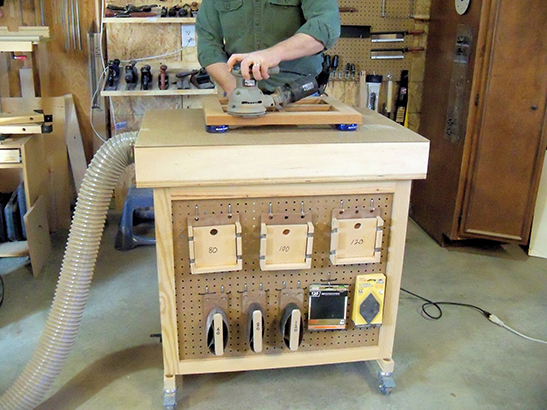
This could be a very familiar plywood cabinet, but for this design we decided on frame and panel sides and doors using pegboard for the panels. This allows for a very versatile storage plan, with the ability to hang the sandpaper, sanding belts, accessories and supplies all over the inside or outside of the cabinet.

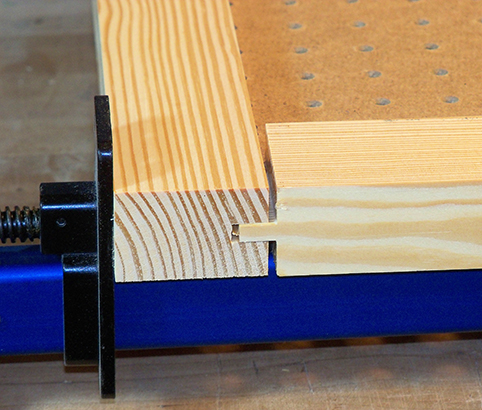
All of the frame members were cut from “two by” stock, and milled with tongues and grooves to form a tradition stub tenon frame. The back of the box defines the width of the cabinet, and the sides are pocket screwed to the inside of the frame. A plywood top and bottom were cut to fit inside the cabinet and also pocket screwed in place.
Doors are hinged to the front rails, and a simple half-lapped frame is made to hold the casters. This was done to set the casters a little bit out from under the cabinet. Long experience has shown that casters mounted under a cabinet are not at all convenient to lock and unlock as needed.

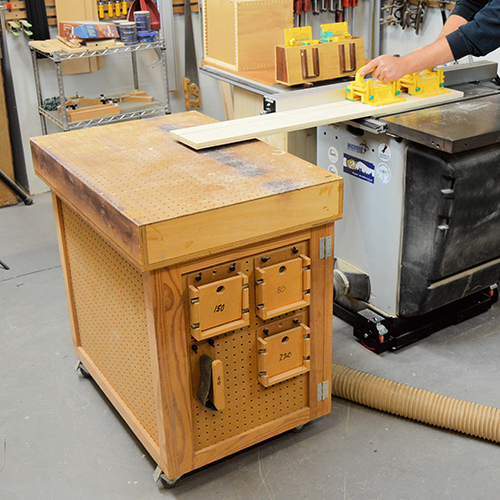
You may have noticed that there has been no mention of dimensions so far. This is because this cabinet should be sized according to the downdraft top it will be supporting. Having the top overhang the cabinet turns out to be very convenient when parts need to be clamped. The cabinet in the free downloadable plans shows a 4” overhang on both ends with 2” front and back, so that set the footprint of the cabinet.
The height of the cabinet should be fixed by the desired height of the downdraft table. The known heights of the top, casters and caster frame are subtracted from the overall height needed and that is the box height. In our case, the overall height was close to the height of the table saw, so adjustments were made so the top was 1/8” lower that the saw table. This allows the downdraft table to also function as an outfeed table for the saw, a highly convenient use if a smaller work space.

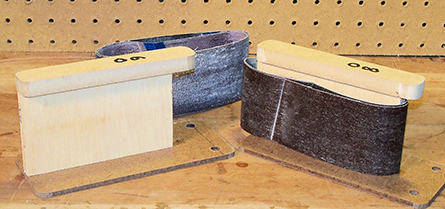
The inside of this sanding center is where I keep my power sanders in their bulky cases, and the outside has a number of purpose built holders for sanding discs and sanding belts. There are proper methods of storing sanding supplies to keep them usable longer. In an upcoming blog, we will discuss these methods and how to design holders that are convenient to use and hold your sanding supplies properly.
In the meantime, you can get your Downdraft Sanding Center built and ready to store all of your sanding supplies. And please feel free to share your storage techniques for sandpaper, sandingdisks and sander belts. We are quite sure ours is not the last word on this subject!
