Build a Mop Sander, Part 2
Posted by The Team at 2Sand on 04 21 2023

In part 1 of our mop sander build, we made a template and created several matching sections of Cloth Shop Roll to be assembled into our mop sander. Now we can make the spindle, assemble, and then use our mop sander.

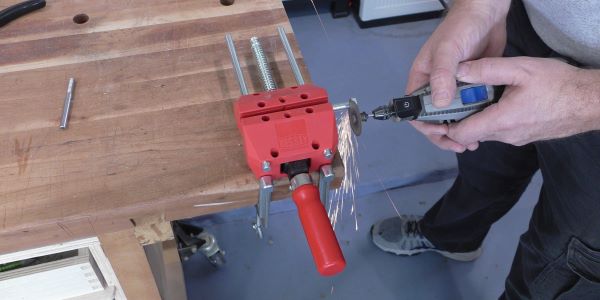
This is a rotary sander, so a shank is needed to mount it in a chuck. Cut the head off the end of a 3” or longer 1/4-20 bolt. This will give you the threaded end needed to hold the mop head and a smooth shaft to fix in your drill chuck. Deburr the cut end if needed then thread a nut and washer onto the shank.

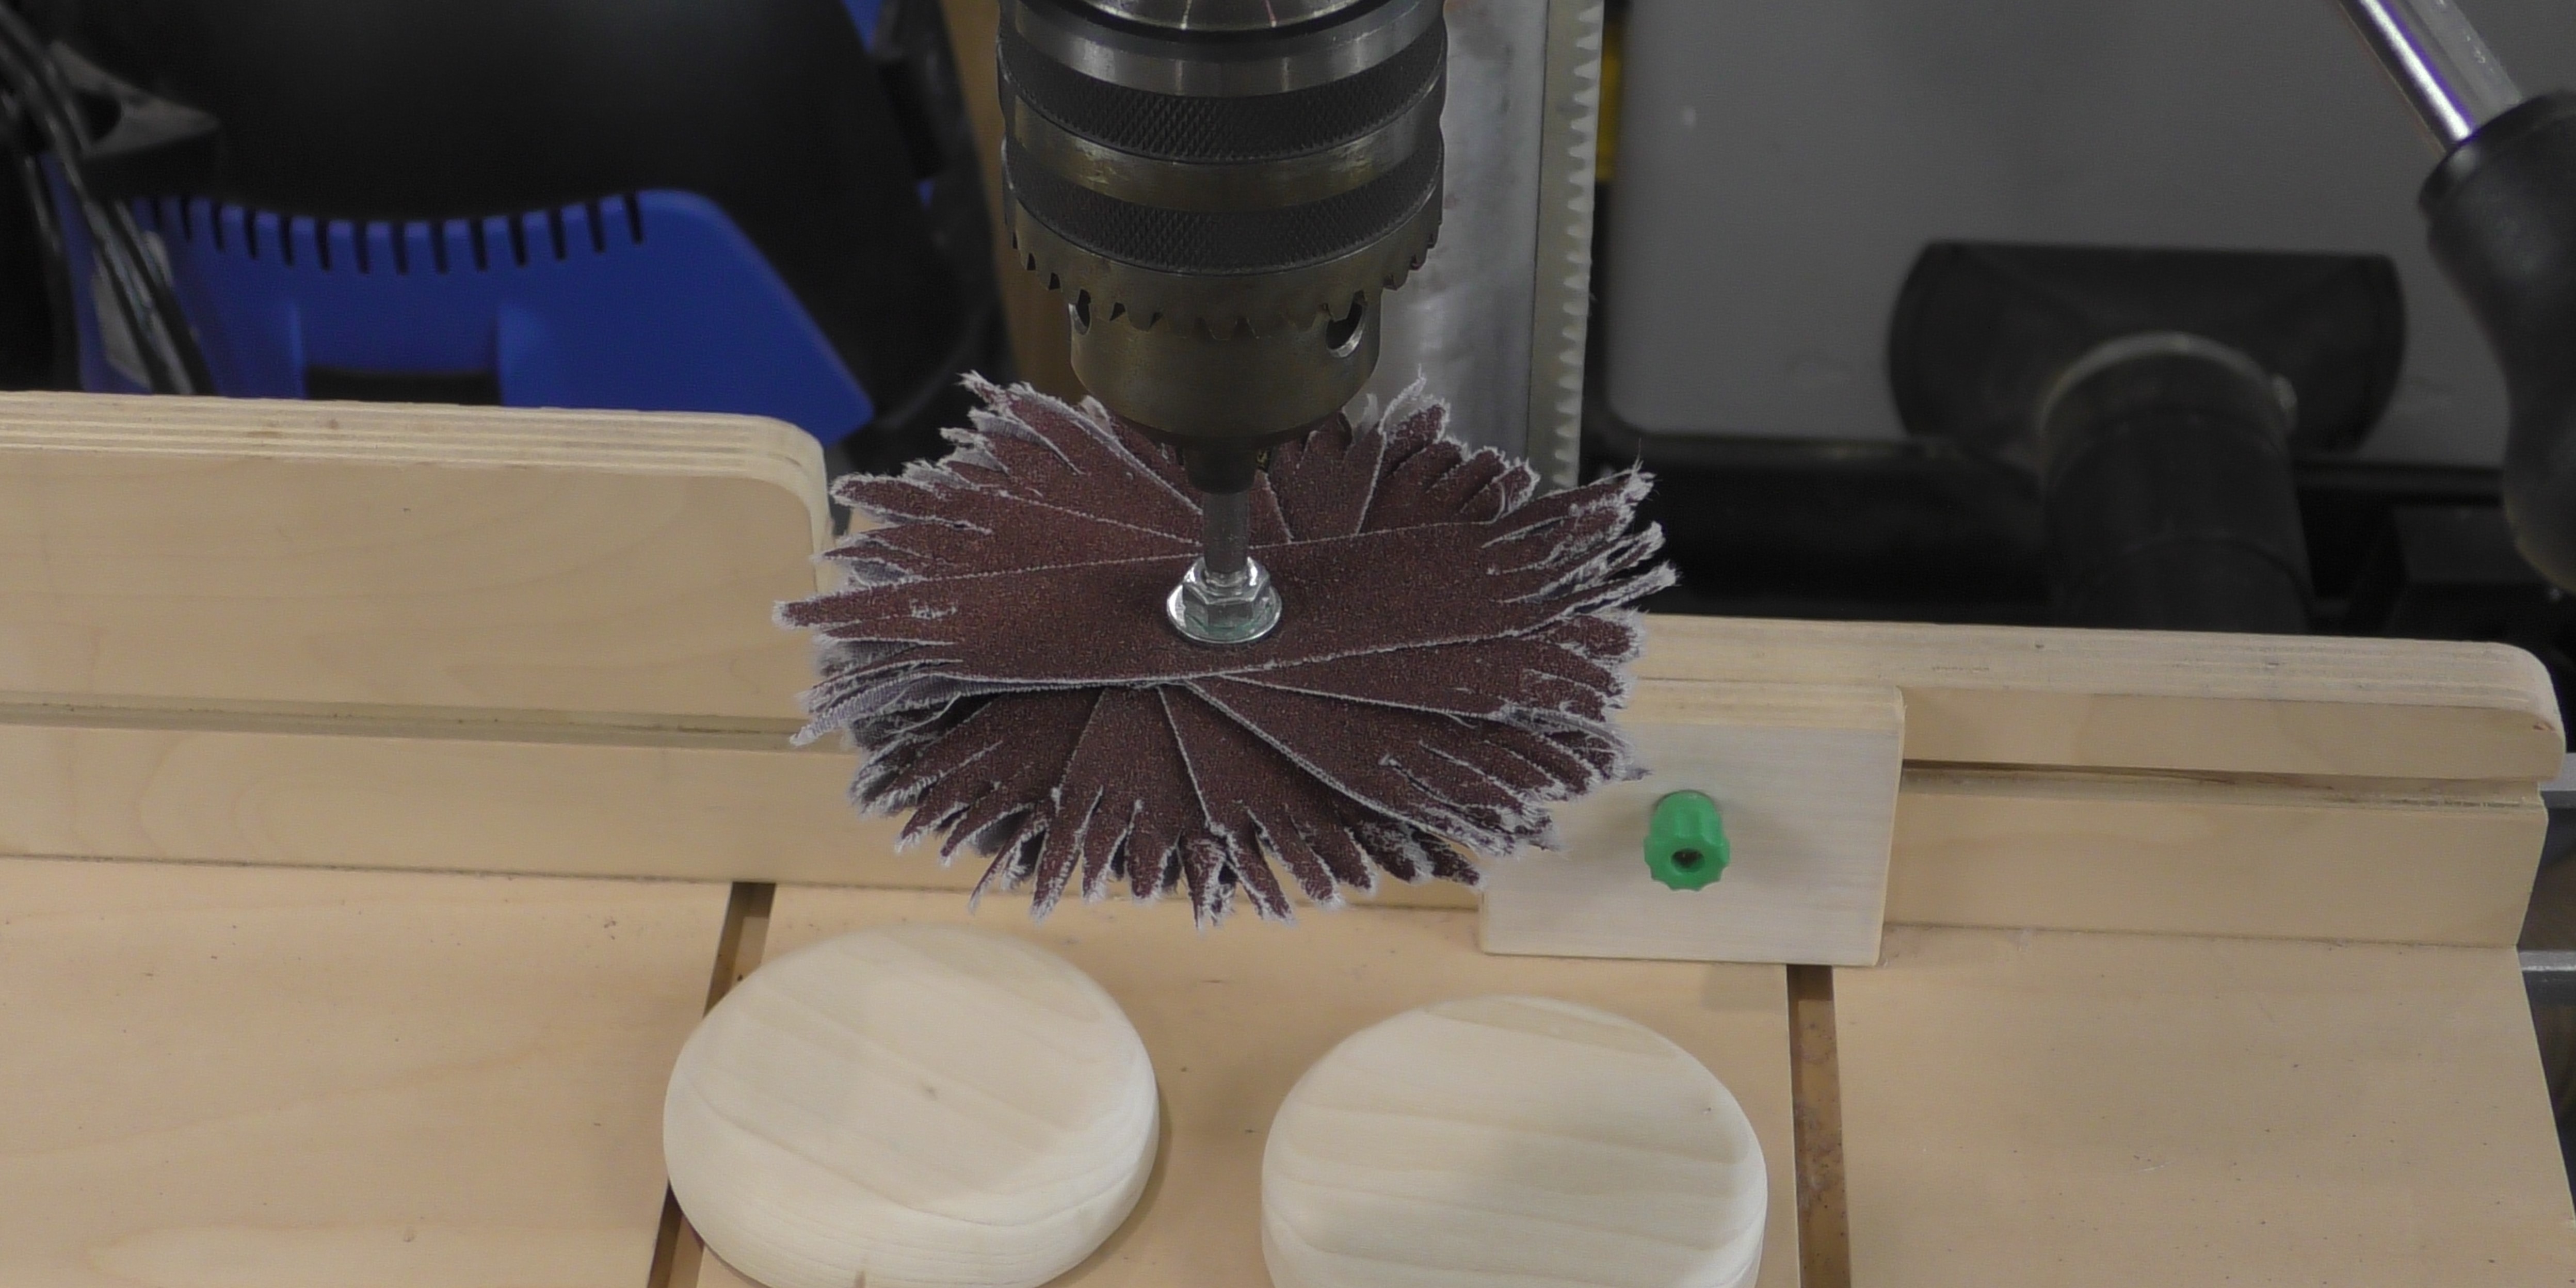
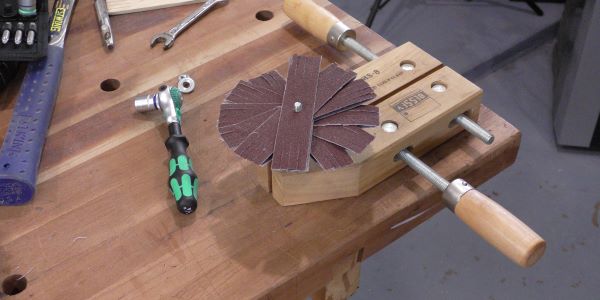
Slip three of the sanding segments we made in Part 1 of this build onto the shank in a fan pattern with the abrasive facing down, then place three more on top of these with the abrasive facing up. Lay down the same pattern again, but this time offset so the segment create a full circle around the shank. This basic setup uses 12 segments of the cloth roll. Thread a second washer and nut on the shank and tighten it to secure the mop head in place. The sander is ready for use.

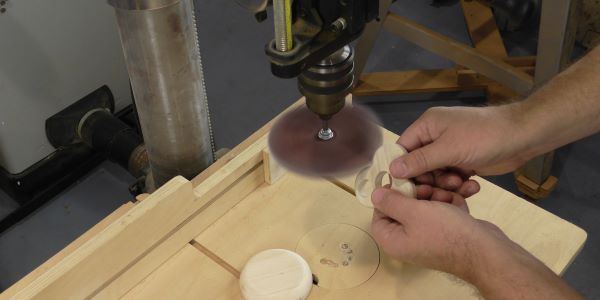
The mop sander can be mounted and used with a drill press. Because the ends of each segment were slit into narrow “fingers”, they can work together on wider surfaces, but are small enough to get into tight corners between features when needed. 1800 RPM provides a good sanding rate without wearing the sanding roll too quickly. Your new mop sander can also be chucked into a hand drill so you can work on larger parts and assemblies, and take it wherever the work brings you. The Cloth Shop Roll we used to make this mop sander is economical, and can be ordered in different widths and grits from 60 to 400, so you can make a custom mop sander to fit any need.

