
Winter Woodworking Projects: How to Sand and Build Successfully in Cold, Dry Weather
Posted by The Team at 2Sand.com on 01 19 2026
Winter Woodworking Projects: How to Sand and Build Successfully in Cold, Dry Weather

When the cold months arrive and the days get shorter, many DIYers and professionals turn their attention indoors. Winter can be the perfect time to start new woodworking projects in your home workshop. Whether you’re building floating shelves, crafting cutting boards, assembling bedroom furniture, or making small pieces from scrap wood, winter offers long stretches of uninterrupted shop time.
But winter brings a challenge many makers overlook: sanding in cold, dry weather. Low temperatures and low humidity affect wood, finishes, abrasives, and even your power tools. If your projects include precise joinery, smooth surfaces, or stain-ready prep, understanding how winter conditions affect sanding is key to consistent results.
This guide covers what changes in winter, what to do differently, and which projects are a good fit for cold-season shop time.
Why Sanding Matters in Winter Woodworking Projects
Good sanding is the foundation of good woodworking. During the winter months, wood behaves differently, which can impact your tools and the overall quality of your build.
What cold, dry weather affects
- Wood loses moisture: Low humidity dries wood, making it more brittle and prone to chipping or tear-out when sanding.
- Static electricity increases: Dry air causes static, which makes dust cling to surfaces, clogs abrasives, and can make cleanup harder.
- Finishes cure more slowly: Stains and paints often take longer to dry in cooler spaces, so surface prep becomes even more important.
Understanding Wood Behavior in Cold Weather
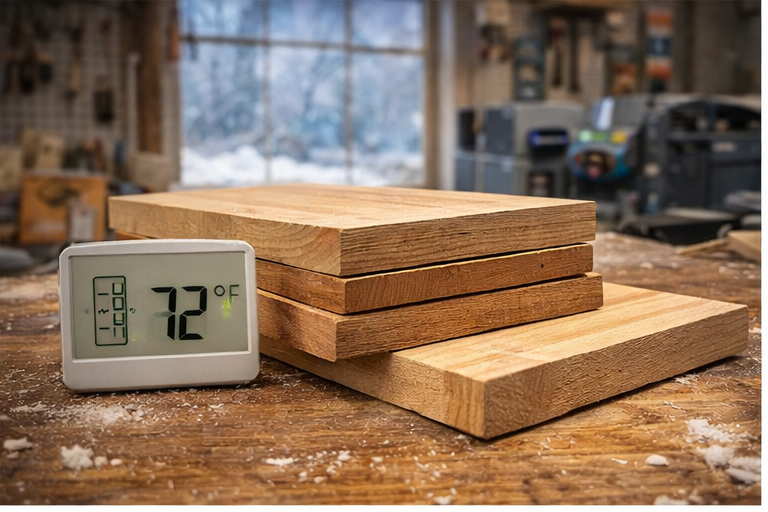
Winter changes the moisture content inside your boards. Whether you’re working with hardwoods, plywood, or scrap wood, the material can feel less forgiving.
Pro tip: Let boards acclimate to indoor temperature for 24–48 hours before sanding. Bringing cold boards straight into a warm shop can cause warping or surface checking.
For winter projects, that typically means:
- Start with a finer grit than you would in warmer months
- Use lighter pressure
- Inspect grain direction often
- Avoid sanding boards that are still cold to the touch
Tools & Materials You’ll Need
Use this table to help gather what you need before starting.
| Category | Tools & Materials |
|---|---|
| Power Tools | Orbital sander, belt sander, drill, table saw |
| Basic Tools | Clamps, chisels, sanding block, square |
| Abrasives | Sandpaper sheets, shop rolls, discs, belts |
| Joinery Supplies | Wood glue, screws, biscuits, pocket-hole plugs |
| Finishing | Stain, paint, varnish, tack cloth |
| Materials | Hardwood boards, scrap wood, plywood, lumber |
Sanding Tips for Winter Woodworking Projects
1) Choose the right grit progression
For many winter projects, this sanding sequence helps reduce tear-out and accidental gouging:
- 120 grit – Start here instead of 80 (often gentler on dry wood)
- 150/180 grit – Mid-stage smoothing
- 220–320 grit – Final prep for stain or paint

2) Warm your abrasives before use
Cold abrasive tends to feel stiffer, which can increase scratching and clogging. Bring sanding discs, sheets, and belts inside for at least 30 minutes before sanding.
3) Reduce static electricity
Static is one of the biggest winter sanding annoyances. To reduce it:
- Lightly mist the air (away from tools and open finishes)
- Ground your shop vac hose when possible
- Wear cotton instead of polyester
- Use high-quality hook-and-loop discs
4) Improve dust collection
Dust tends to float longer in low humidity. For indoor sanding:
- Use a HEPA shop vac or dust extractor
- Clean discs frequently
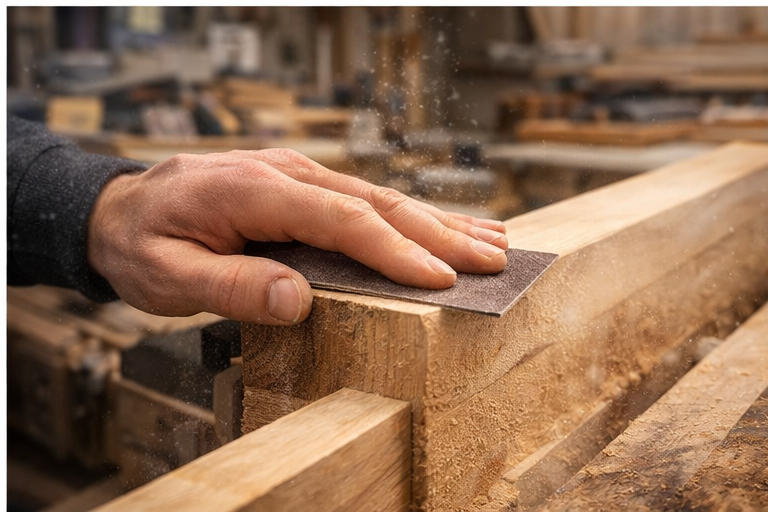
- Sand with the grain
- Hand-sand delicate edges and corners

Indoor-Friendly Winter Project Ideas
With sanding as the foundation, here are project ideas that fit well in winter shop time:
Floating shelves
Use plywood or hardwood boards, sand carefully, and stain to match your space.
Cutting boards
A classic project for using hardwood scraps. Precise sanding helps you get a smooth, food-safe finish.
Bird feeders
A simple build that works well with scrap wood and basic tools.
Table centerpieces for winter gatherings
Use a large wood disc, Lazy Susan, or tray. Sand smooth, then finish with paint or stain for an easy tabletop project.
Bedroom furniture
Side tables, nightstands, or headboards are good winter builds when you want to take your time with sanding and finishing.
Rustic storage boxes
Useful for blankets, tools, toys, and general storage.
Desk or sofa tables
Practical upgrades for indoor spaces, especially when you’re spending more time at home.
Advanced Winter Projects
If you already have a solid shop setup, consider:
- Bent laminations: Thin laminations and clean glue-ups can produce curved chair parts, lamp forms, and other décor pieces.
- Precision joinery: Mortise-and-tenon, dowels, or box joints benefit from careful sanding for tight fit and clean reveal lines.
- Larger furniture builds: Tables and shelving projects are ideal when you can work indoors in stages.
Sanding & Finishing Tips for Winter
- Let wood warm up before sanding: Cold wood can sand inconsistently.
- Avoid over-sanding before stain: Stopping at 180–220 often helps stain absorption.
- Store finishes in a warmer area: Warmer stain/finish flows more evenly.
- Expect longer dry times: Plan your workflow around slower curing.
- Test colors first: Lighting can look different in winter conditions.
Scrap Wood Projects for Winter
If you have piles of scrap wood, winter is a good time to use them up. Try building:
- Tea-light holders
- Wall-mounted key racks
- Rustic boxes
- Picture frames
- Charging stations
- Shelf brackets
Final Thoughts
Winter is an opportunity for focused workshop time. With the right sanding techniques, the right tools, and a realistic grit progression, you can build projects that look clean, finish evenly, and hold up over time—without fighting brittle wood, static, or dusty surfaces.