Refinishing in Place - Part One of a Countertop Sanding Project
Posted by The Team at 2Sand on 07 19 2023
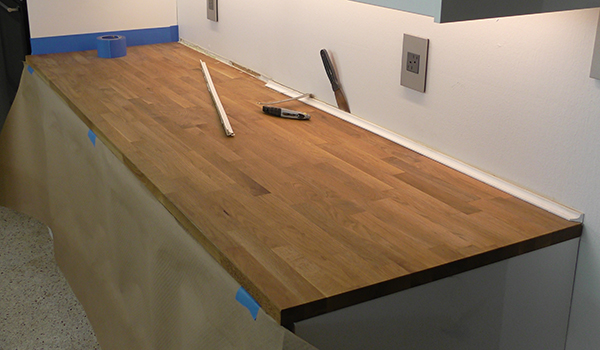
While the mess of sanding and finishing is easiest to contain in a dedicated workshop space, some jobs just require working in place and the wood countertop shown is just such a project. Removing it to refinish in the shop would require a lot more work and could result in unnecessary damage to walls and cabinets, so it will be reworked in place.
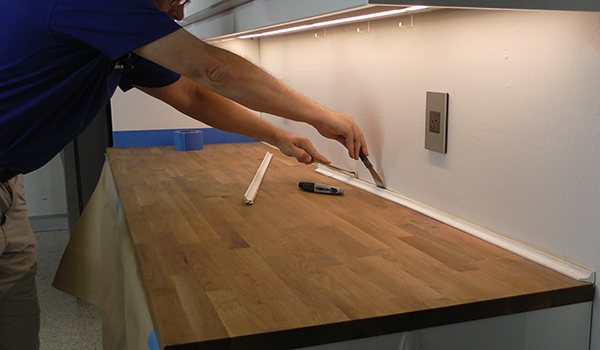
The cabinets and the end wall were masked to protect them from damage, and a poorly applied molding was removed from the back wall. It will be replaced with a new piece. The wall was already rough behind the molding, so no masking was needed there.
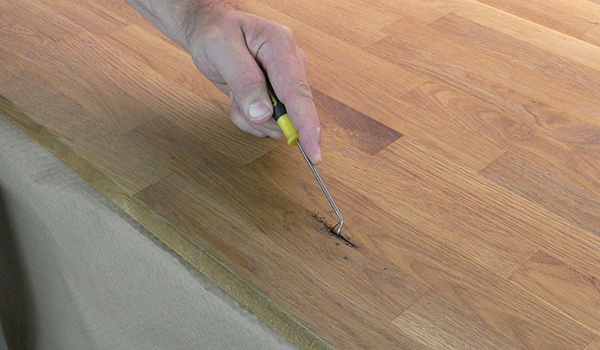
The countertop itself had a few small defects that had been filled with colored wax, and these needed to be repaired before work could progress. A fine pick was used to remove any wax and loose debris in the knots, the voids were vacuumed clean, and cyanoacrylate was applied to fill the gaps.
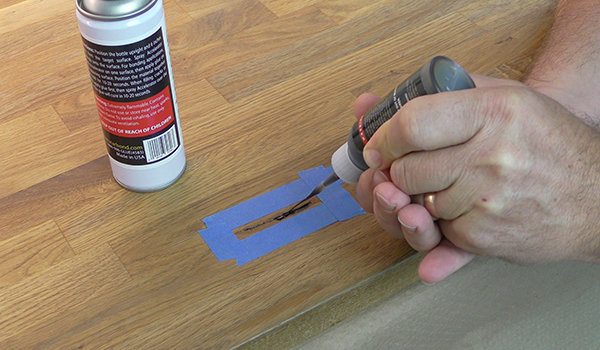
The larger defects required a couple layers of medium thick glue. These can be built up very quickly by spraying the glue with an accelerator. Layers can be built up every 30 seconds this way, so the process is quick.
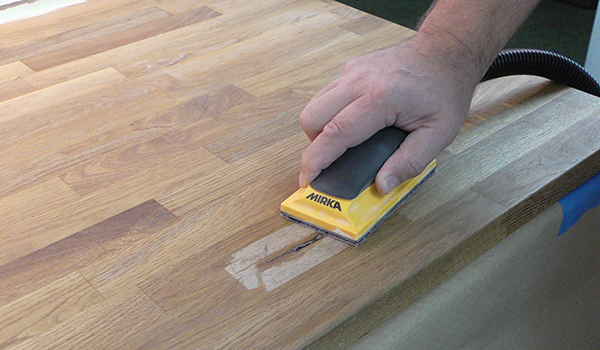
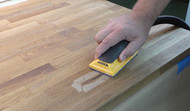
Once the voids are filled, they can be sanded flush with a hand sanding block. The block shown has a dust collection port and holds 2-3/4” x 5” Abranet sheets. When connected to a good dust extractor, this set up gives excellent control over the work while leaving virtually no mess to clean up, a major consideration when working in a kitchen area.
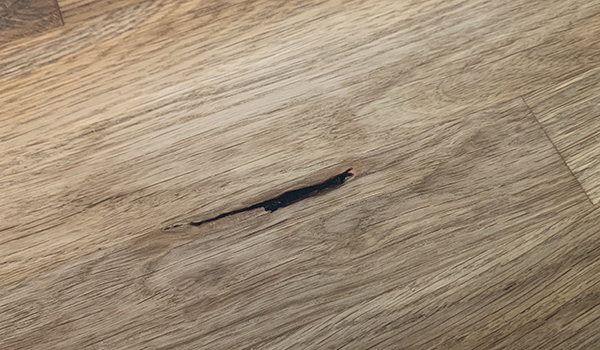
As the knot repairs are sanded, some air bubbles appeared that needed to be refilled and sanded again, but overall, less than an hour was spent filling half a dozen voids across this particular countertop.
Stay tuned: In the next installment of this blog project, we remove the old finish on the countertop and apply several coats of finish to complete this restoration.

