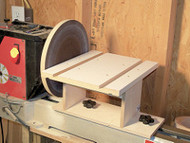
Lathe Disk Sander Pt. 3
04 08 2011
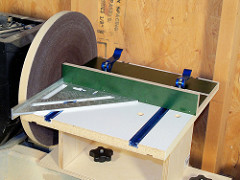
If you've been following this series, you now have a working disk sander on your lathe. While it is highly useful as is, adding a fence will greatly increase the accuracy and utility of your sander.
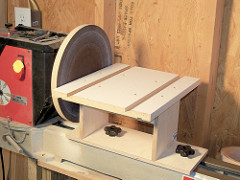
I could have simply added a 3/4" slot and used a standard miter gauge, but most stock ones are not terrible accurate, and aftermaket gauges are expensive and quite large for the small table here. I chose instead to cut a pair of dados and embed T-Tracks into the table. I used the thinner T-Track to minimize the material removed from the table. Epoxying the tracks in place makes up for the material removed.
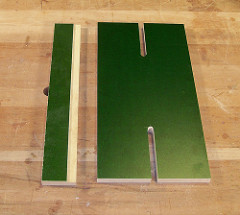
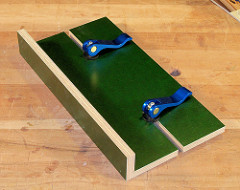
I cut the body of the fence from high quality phenolic faced 1/2" ply. It is 6" wide by 12 long. Cutting a cardboard mock up first helped me lay out the slots for the clamping system. the slots are 5/16" wide and 3 1/4" long, centered on the base. The idea is that as the base is angled, the effective distance between the clamps gets longer, so the clamps need to be able to slide in and out relative to the base. Again, mocking it up in cardboard saves time and materials. The upright for the fence is also 12" long, and 1 1/2" high. I cut a shallow rabet in one edge to locate it properly on the base and allow for a good glue joint. The T-Track is designed to work with 1/4-20 bolts or 5/16" T-Bolts. I'm using cam clamps for holding the fence,
but there are other options.
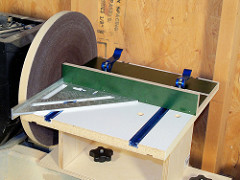
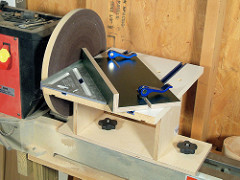
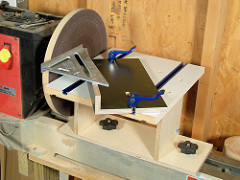
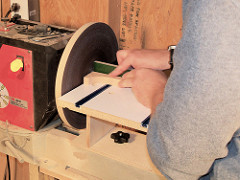
In use, the fence can be quickly set to 90 or 45 degrees using a square. There are no presets, so it can be set to any angle from 90 to less than 45 using a sliding square or other angle gauge.

The fence is highly useful for squaring up even small parts accurately and safely. Look for our next post where I will provide tips and tricks for getting the most from your new lathe disk sander. 12" Sanding Disks from 2Sand.com
We invite your comments here on the blog, on our Facebook page, or via Twitter. Let us know what you think! -2Sand.com

